OAuth2 Authorization Walk-through
Introduction
This tutorial will walk you through the flow of OAuth2 authorization.
SPECIAL ANNOUNCEMENT: Please note that the launch_uri and redirect_uri has been changed to better match the current SMART sample apps pattern.
Old launch_uri: http://localhost:8000/fhir-app/launch.html New launch_uri: http://localhost:9090/launch.html
Old redirect_uri: http://localhost:8000/fhir-app New redirect_uri: http://localhost:9090
Setup
Obtaining the Example Code
You will need the oauth2-authorization-walkthrough code for this example. This project is contained within the examples codebase.
Prerequisites
- Create an account on the Logica Sandbox.
- From the example code, modify launch.html to refer to your server for the redirect_uri:
var redirect_uri = "http://[Your IP address]:9090";
- The fhir-app has been deployed in your application server on port 9090(using Python's SimpleHTTPServer or other tool).
Step 0
Log on to https://sandbox.logicahealth.org and create a sandbox. Make sure you have "Import sample applications" check box marked in the creation dialog.
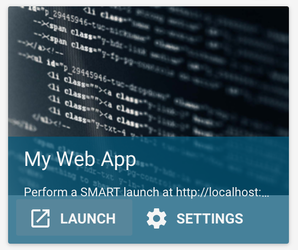
Launch "My Web App"
From the "App" section, click the Launch button of "My Web App".
Select a patient from the patient picker.
Step 1
The app is launched and the issuer and launch ID are displayed.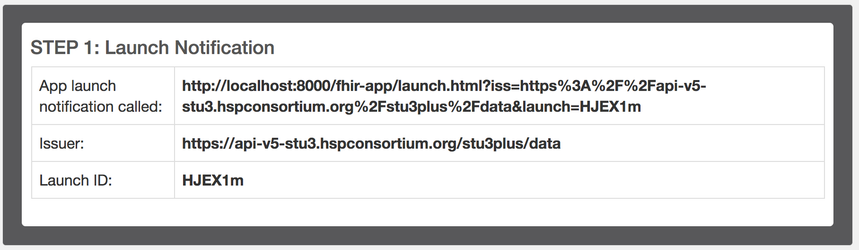
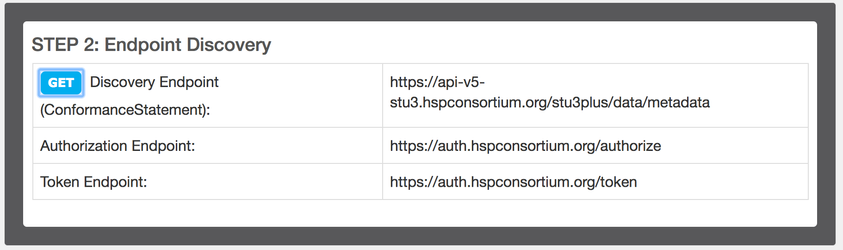
Step 2
Press the GET button to call the discovery endpoint for the Logica API and to retrieve/display the authorization endpoint and the token endpoint. NOTE: The discovery endpoint is the issuer with the /metadata path added.
Step 3
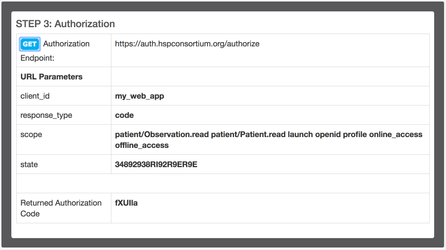
Press the GET button to call the authorization endpoint and request authorization. A popup will show what's being sent to the auth server:
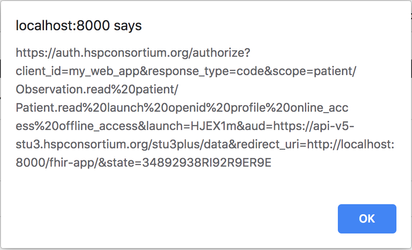
The authorization request includes the client_id, response_type, scope (including launch ID), redirect_url and state.
After clicking OK, a popup window will ask you to authorize the application. After clicking "Authorize", you will be shown a successful authorization process.
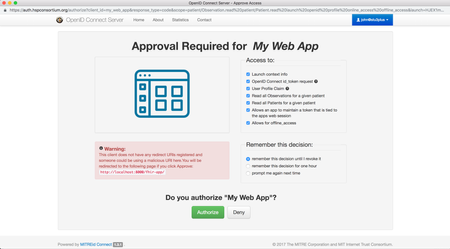

If the login has expired, you will be asked to login again. Otherwise, My Web App is authorized and the app receives an authorization code and state as query parameters in the URL.
Step 4
Press the POST button to post the authorization code to the token endpoint. This will request an access token.
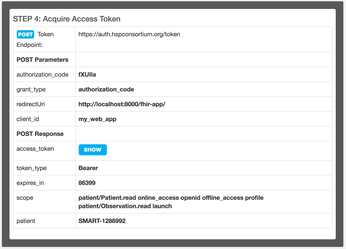
The response contains an access_token and the patient ID.
You now have what you need to query patient data. The access_token is set in the request headers for the query
Authorization: Bearer eyJhbG... |
|---|
Step 5
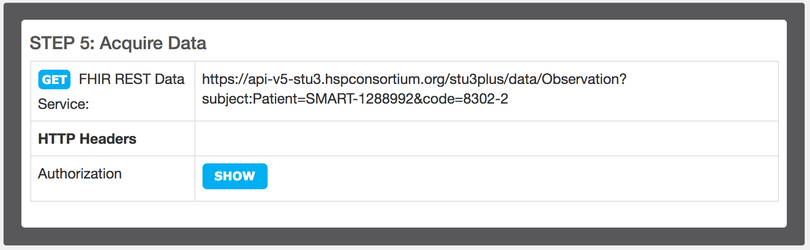
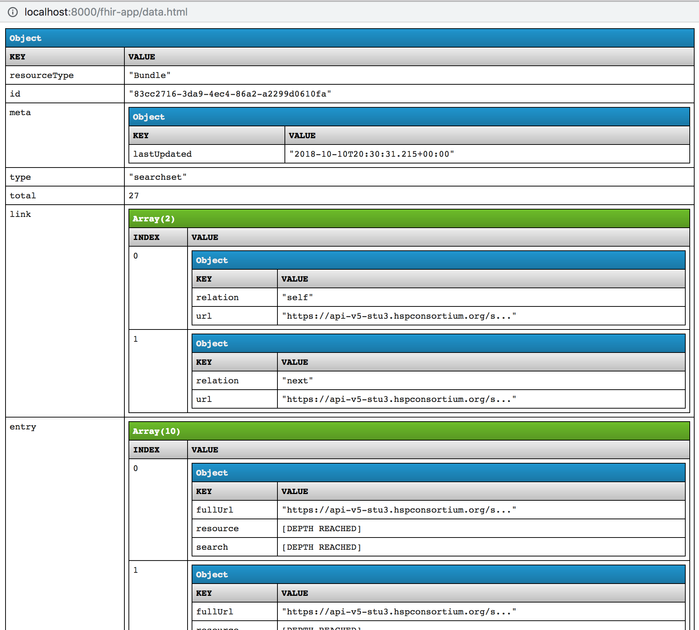
Press the GET button to query observation for the given patient and to open a new window to display the results:
Get the Source Code
Bitbucket
| Clone using HTTPS |
|---|
| git clone https://bitbucket.org/hspconsortium/oauth2-authorization-walk-through.git |
| Go to the Repo |
| https://bitbucket.org/hspconsortium/oauth2-authorization-walk-through |